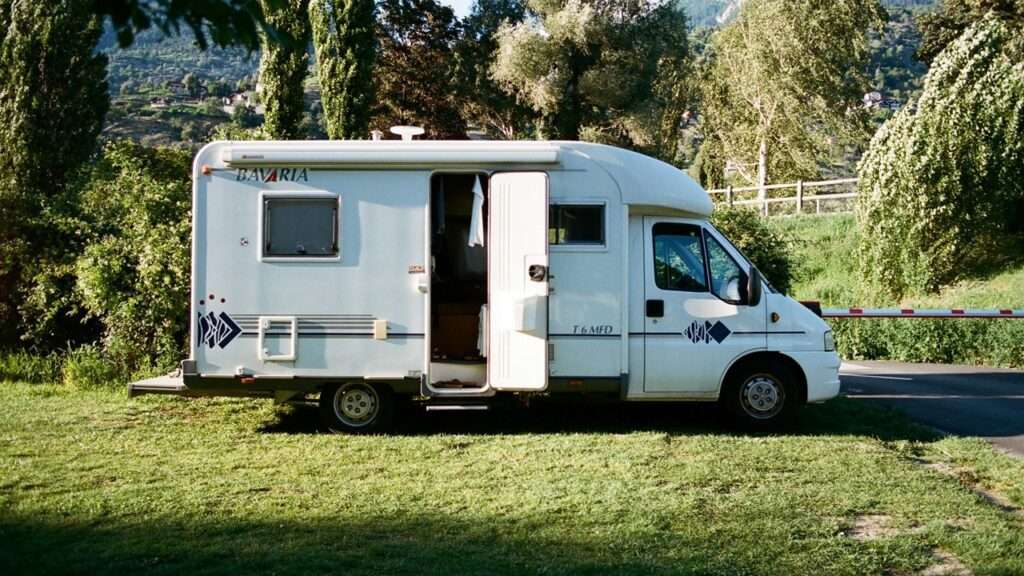
Having clean water in your RV is non-negotiable for a safe and enjoyable trip, and knowing how to disinfect your RV water tank is a vital part of keeping things fresh.
Whether it’s for drinking, cooking, or washing up, the last thing you want is funky-smelling water or worse—unsafe bacteria. Disinfecting your water tank might sound like a chore, but with the right approach, it’s as easy as making coffee in the morning.
Let me walk you through the process so you can hit the road with confidence.
When You Should Disinfect Your RV Water Tank
It’s tempting to think your RV’s water system is self-sustaining, but that’s not the case. Water tanks can become breeding grounds for bacteria, algae, and even mold if left unchecked. Disinfecting isn’t something you need to do daily, but there are specific situations where it’s necessary to keep things clean.
Here are a few times when you should sanitize your RV water tank:
- After Winter Storage: Water tanks can develop mold and bacteria during long periods of disuse.
- Before Your First Trip of the Season: A fresh start ensures your water is safe and drinkable.
- If the RV Has Sat Idle for Weeks: Stagnant water is a haven for germs.
- After Using Questionable Water Sources: Campgrounds or unknown taps may introduce contaminants.
- When You Notice Bad Smells or Tastes: It’s a clear sign your system needs attention.
Supplies You’ll Need to Disinfect Your RV Water Tank
Before diving in, gather everything you need to make the job quick and straightforward. No fancy tools are required—just a few household items.
Here’s what you’ll need:
- Non-scented household bleach or an RV-specific sanitizer.
- A measuring cup to calculate the right amount of cleaning solution.
- A large funnel or a water hose with a nozzle.
- A 5-gallon bucket or container for mixing solutions.
- Access to a freshwater source and a sewer or dump station.
- Optional: Rubber gloves for handling bleach.
How to Disinfect RV Water Tank
Here’s how to disinfect your RV water tank in a few simple steps:
- Turn off the water heater and pump.
- Drain all the water from the tank.
- Mix the bleach solution (1/4 cup per 15 gallons of tank capacity).
- Add the solution to the tank and fill it with water.
- Run the solution through all faucets and let it sit for 12-24 hours.
- Flush the system with fresh water until no bleach smell remains.
Now, let’s unpack each step in detail.
Step 1 – Turn Off and Prepare
Before you begin, make sure your water heater and pump are turned off. This is crucial for two reasons:
- Running the water heater with an empty tank can damage it.
- Circulating heated bleach can cause harm to your plumbing system.
Once everything is off, open all your faucets to relieve any leftover water pressure. This simple step ensures your system is safe to work on.
Step 2 – Drain the Tank
Locate the drain valve for your fresh water tank. It’s usually found underneath your RV or near the water system compartment. Open the valve and let all the water flow out.
Don’t forget about the hot water tank—it holds water too, and that old, stale water needs to go. Draining both tanks fully is key to starting with a clean slate.
Step 3 – Mix the Bleach Solution
Now it’s time to prepare your disinfecting solution. The rule of thumb is to use 1/4 cup of non-scented bleach for every 15 gallons of water your tank holds. For instance, a 30-gallon tank will need about 1/2 cup of bleach.
- Grab a clean bucket and fill it with water.
- Add the measured bleach to the bucket and mix thoroughly.
Never pour concentrated bleach directly into your tank—it’s too harsh and could damage your system. Diluting it first ensures even distribution without harming your plumbing.
Step 4 – Add the Solution to the Tank
Using a funnel or your water hose, carefully pour the diluted bleach solution into your fresh water tank. If your RV’s water inlet has a vent, you might need to pour the solution into the hose first and then connect it to the tank. Once the bleach solution is in, fill the tank with fresh water to mix everything together evenly.
Step 5 – Circulate the Solution
Turn your water pump back on and go inside your RV. Open each faucet (hot and cold) one at a time and let the water run until you can smell bleach. This step ensures the solution has reached every part of your water system, including the plumbing lines and faucets.
Once all the faucets have been run, close them and let the bleach solution sit in the tank for 12-24 hours. This resting period allows the disinfectant to work its magic.
Step 6 – Flush the System
After the solution has done its job, it’s time to get rid of it. Drain the tank completely, just like you did earlier. Then, refill the tank with fresh water and run it through all the faucets.
This flushing process removes any lingering bleach from the system. You may need to repeat this step a few times until the bleach smell is entirely gone.
Why Disinfecting Your RV Water Tank is Important
Keeping your RV water tank clean isn’t just about making your water taste good. A dirty water tank can lead to health problems, odors, and damage to your RV’s plumbing. Let’s explore why regular disinfection is a must for every RVer.
Prevents Bacteria and Algae Growth
Think of your water tank as a giant container. If water sits in it for weeks or months, it becomes the perfect breeding ground for bacteria, algae, and even mold.
These can contaminate your water, making it unsafe to drink or use for cooking. Plus, if left unchecked, they can clog your pipes and create expensive plumbing problems down the road.
Eliminates Odors and Bad Tastes
Ever turned on your RV faucet only to be hit with a smell that made you wrinkle your nose? That’s likely due to organic buildup in your tank or plumbing lines.
Over time, stagnant water can cause sulfuric or metallic odors that make your water undrinkable. Disinfecting clears out this buildup, giving you fresh, odor-free water every time.
Prolongs the Life of Your Water System
Residue from unclean water can build up in your RV’s pump, pipes, and faucets, causing unnecessary strain on the system.
Regular cleaning reduces wear and tear, keeps your plumbing running smoothly, and can save you from costly repairs in the future.
Is It Safe to Use Bleach in an RV Fresh Water Tank?
Yes, it is safe to use bleach in an RV fresh water tank when properly diluted. Bleach is a highly effective disinfectant that kills bacteria, algae, and mold, keeping your water system clean and safe.
When used correctly, bleach won’t harm your RV’s plumbing or water pump. The key is to dilute it before adding it to the tank. A common ratio is 1/4 cup of non-scented bleach for every 15 gallons of water.
Make sure to flush the system thoroughly afterward to remove any bleach residue. This method has been used by RV owners for years and is both cost-effective and reliable.
If you’re worried about safety or prefer an alternative, you can use RV-specific sanitizers or hydrogen peroxide, which are gentler but still effective options.
What if the Bleach Smell Doesn’t Go Away?
If the bleach smell doesn’t go away after flushing, it’s likely due to residual bleach in the system. Running fresh water through the tank and plumbing multiple times should solve the issue.
To get rid of the smell faster, fill the tank with clean water and let it sit for a few hours before draining it again.
Adding a small amount of baking soda to the water can also neutralize lingering bleach odors. If you’re still noticing the smell, check your hot water tank and plumbing lines, as they might need additional rinsing.
Remember, the bleach smell will fade completely with enough flushing. Patience is key here—better to spend a little extra time rinsing than to have unpleasant-tasting water.
Alternative Methods for Disinfection
If you’d prefer not to use bleach, there are other ways to disinfect your RV water tank effectively. Here are some alternatives:
- Hydrogen Peroxide: Use food-grade hydrogen peroxide diluted with water for a gentler yet effective cleaning solution.
- White Vinegar: Mix vinegar with water to kill bacteria, but ensure the mixture is heated to around 130°F for better effectiveness.
- RV-Specific Sanitizers: Products like Thetford’s two-step sanitizer kits are designed specifically for RV water systems.
- Biodegradable Cleaning Solutions: Eco-friendly options that are safe for disposal in the environment.
Maintenance Tips for Long-Term Fresh Water Tank Health
Regular maintenance is the best way to keep your RV water tank clean and avoid frequent disinfections. Here are some tips:
- Drain and refill the tank every two weeks if water is sitting unused.
- Use potable water hoses and avoid filling from unknown or untreated sources.
- Install a water filter to reduce contaminants before water enters your tank.
- Sanitize your tank at least twice a year, or more frequently if needed.
- Store your tank empty during the off-season to prevent mold growth.
Wrapping It Up!
Keeping your RV water tank clean is critical for safe and enjoyable adventures. Regular disinfection with bleach or alternative methods prevents bacteria, eliminates bad smells, and prolongs the life of your plumbing system.
By following the step-by-step process and adopting simple maintenance practices, you can ensure fresh, safe water every time you hit the road.
Related FAQs
Can I sanitize the gray and black water tanks using the same process?
No, gray and black water tanks require different cleaning methods. Use specialized cleaners designed for breaking down waste and controlling odors in those tanks.
Should I disinfect the hot water tank separately?
Yes, the hot water tank should be drained and sanitized as part of the process. Be sure to follow the manufacturer’s instructions for safely draining and cleaning it.
What is the best way to clean the low-point drains?
Open the low-point drain valves and let fresh water flush through them. If needed, run a small amount of bleach water through the system, then rinse thoroughly.
How do I sanitize my RV water system when winterizing?
Drain all water, add antifreeze if required, and sanitize the tank before use in the spring. Follow the manufacturer’s recommendations for winterizing and sanitizing.
Can I drink directly from the RV water tank after disinfection?
Yes, but only after you’ve thoroughly flushed out all the bleach or cleaning solution. If you’re unsure, use a water filter or boil the water for added safety.
As outdoor enthusiasts ourselves, we understand the significance of reliable gear that can withstand the elements and support you throughout your journey. We try to provide as much real life information with our guides and how tos to the readers as possible. Our honest and transparent reviews of essential outdoor gadgets and products are rooted in testing and experience. We take great satisfaction in offering unbiased evaluations, ensuring that you can make informed decisions when investing in outdoor gear. As an affiliate website, we may earn a small commission from some of the products we feature. However, rest assured that our opinions are not influenced by this, and your trust is always our top priority.


